Upma (a low-carb version)

I have been wanting try and see how riced cauliflower worked, so today, I decided to try making my favorite breakfast food of upma and replace the rava (semolina) with it. I forgot to take any photos, but I will say that it was delicious!

  • 1/2 – 1 tbsp oil (olive, veg, whatever you like)
  • 1 tsp black or brown mustard seeds
  • 1 tsp cumin seeds
  • 3-5 tbsp raw cashews or peanuts
  • 1/2 – 1 green chillies , sliced thin (I prefer finger hot or jalapeno)
  • 2″ ginger root, skinned and finely chopped
  • 1 onion, finely chopped
  • 1.5 – 2 cups riced cauliflower
  • salt to taste
  • handful of coriander leaves, chopped (optional)

Get some cauliflower florets (with some of the white stem right under it) and whirr it through a food processor for 20-30 seconds or until riced. Don’t whirr to long or you might end up with a paste!

Heat oil in a pan, add the mustard and cumin seeds. Saute till mustard starts to pop.

Add raw nuts, green chillies and ginger. Saute till nuts start to brown.

Add onion and continue to saute until they begin to turn translucent.

Add the riced cauliflower (if using roasted nuts instead, add them here) and salt. Saute stirring often, on medium heat, until the raw smell goes and it doesn’t taste of raw cauliflower – about 4-5 minutes.

Turn off heat, add chopped coriander leaves and enjoy!

Goes well with: any Indian spicy pickle, sugar, jaggery (palm sugar)  or yogurt on the side

Sensodyne BzzActivity!

Since 2008, I have been a “BzzAgent”. What is that, you say? I get to try products and services and share my opinion about them as a part of over 1 million other such agents worldwide!

I have been able to participate in all sorts of product trials including Dr. Scholls Insoles, Garnier, John Freida, Covergirl, Publix & Kroger, Green Mountain Coffee, Scotts EZ Seed, Windex, Boston Market etc. The product I am currently trying and reviewing is Sensodyne Deep Clean.

The catch? You have to write a report, share on Instagram, Facebook, Twitter, your Blog etc. It has been interesting to try new products, review them, and share the information with friends. The hard part is actually sitting down and writing the reports!

Interested in knowing more? Let me know with a comment here, and I will respond!

Earring Giveaway

I made it to 250 likes on my facebook page and am giving away a pair of earrings. There are two types of earrings so you have a choice – a silk tassel and gemstone earring, or a semi precious and crystal angel earring. They come in multiple colors and you can choose the one you’d like to win.

All you need to do is “like” the page and post a comment either on the fb page or a comment on the blog.

The contest is open to anyone in the continental United States.

The contest ends at noon EST, Sunday, 19th October.

Tell your friends, feel free to post a link to the blog or the fb page and spread the word!

Green Silk Tassel and gemstone  jade  Silk Tassel and Gemstone earring  Pearl and Crystal Angel

Image

Blueberries

Yesterday, we all went blueberry picking. Wonderful, blue-purple, ripe fresh berries that taste superb just warm off the bush. We ended up with 2 gallons of berries. So, of course, once we got back home, I had about 40 minutes of work to rinse, pick out leaves and stems and sort out the unripe ones. I ended up with a cupful of unripe ones (I am sure there were more, but I decided to let them stay with the sweet ones). The question was, what was to be done with these reddish, whitish berries that are too tart to pop into your mouth? I decided to Indianize them and made blueberry pickle (the first time I have ever tried to make this!).

Here’s how I made it.

Indian pickle from blueberries

Indian pickle from blueberries

I heated about 30 mls of cooking oil in an iron wok, popped a 1/4 tsp of black mustard seeds, added the scant cup of berries with a pinch of turmeric and 1 tsp of sea salt. Stirred them on medium-low for about 9-10 minutes and once they started to stick to the bottom of the wok, I added a teaspoonful of red chilli powder (the super hot variety from the Indian grocers). Voila!

Notes: Tastes quite nice though you can’t really tell it what the fruit is (that’s what comes of spicing them up!). Great for a sandwich. And, yes, there was too much oil, so the next time I will try it with 20 mls.

Seed Giveaway Contest #2 Winner

Thank you to all who followed my blog and commented on the  Seed Giveaway Contest#2.

The winner, who was randomly picked is — Clare M. Congratulations! Your packets of seeds will be on their way as soon I get an address to send it to!

I have not been good about doing giveaways, but I hope to put something up once cooler weather hits!

Plant Seeds Giveaway – just 2 days left!

Contest ends this Friday, 3.21.2014

Just two days left for you to follow the blog and get one entry to be in the drawing to win the 11 packets of seeds.’

If you comment in addition, you get a second entry.

Already follow? Just comment and let me know! 

Go for it!

Seed starting ideas

Have you the urge to start seeds indoors but decided against it because you didn’t want to purchase seed starting kits? Despair not! You have plenty of material that you can use to start seeds in your own home. Egg cartons (plastic and recycled paper), those clear little plastic boxes berries come in, plastic bottles (smaller ones are better than larger ones for starting), old plastic Tupperware, styrofoam boxes, ice trays, toilet paper rolls (yes, you read that right!), plastic baggies (if you have a way to contain them from falling over), small store-bought yogurt cups, small paper cups  and pretty much anything you can punch a hole in all work well! Here is what I have this year.

1. Plastic Bottles

Cut Bottle

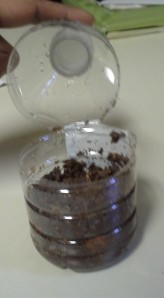
I was at a presentation that my city had for home gardeners on “Sustainable Vegetable Gardening” earlier this week and the speaker passed around this bottle that he had used to start his cucumber plants. I decided to try the idea myself. Take a clean bottle. Remove the label. Cut the top half with a knife, but only cut about 90% of the way around the bottle. The remaining 10% serves as hinge. Open at the hinge and fill with potting soil. Moisten and put in your seeds. Close at hinge and tape the cut portions completely shut with a clear tape. A perfect greenhouse that can be watered from the lid should it get dry. If you have put in too much water, blot out with a a towel or don’t tape the hinge back together until it is dried out. I like to use a heavy permanent marker to label the seed type and date of planting. This year, I have okra starting in my water bottles.

2. Egg Cartons

Egg Carton Starter

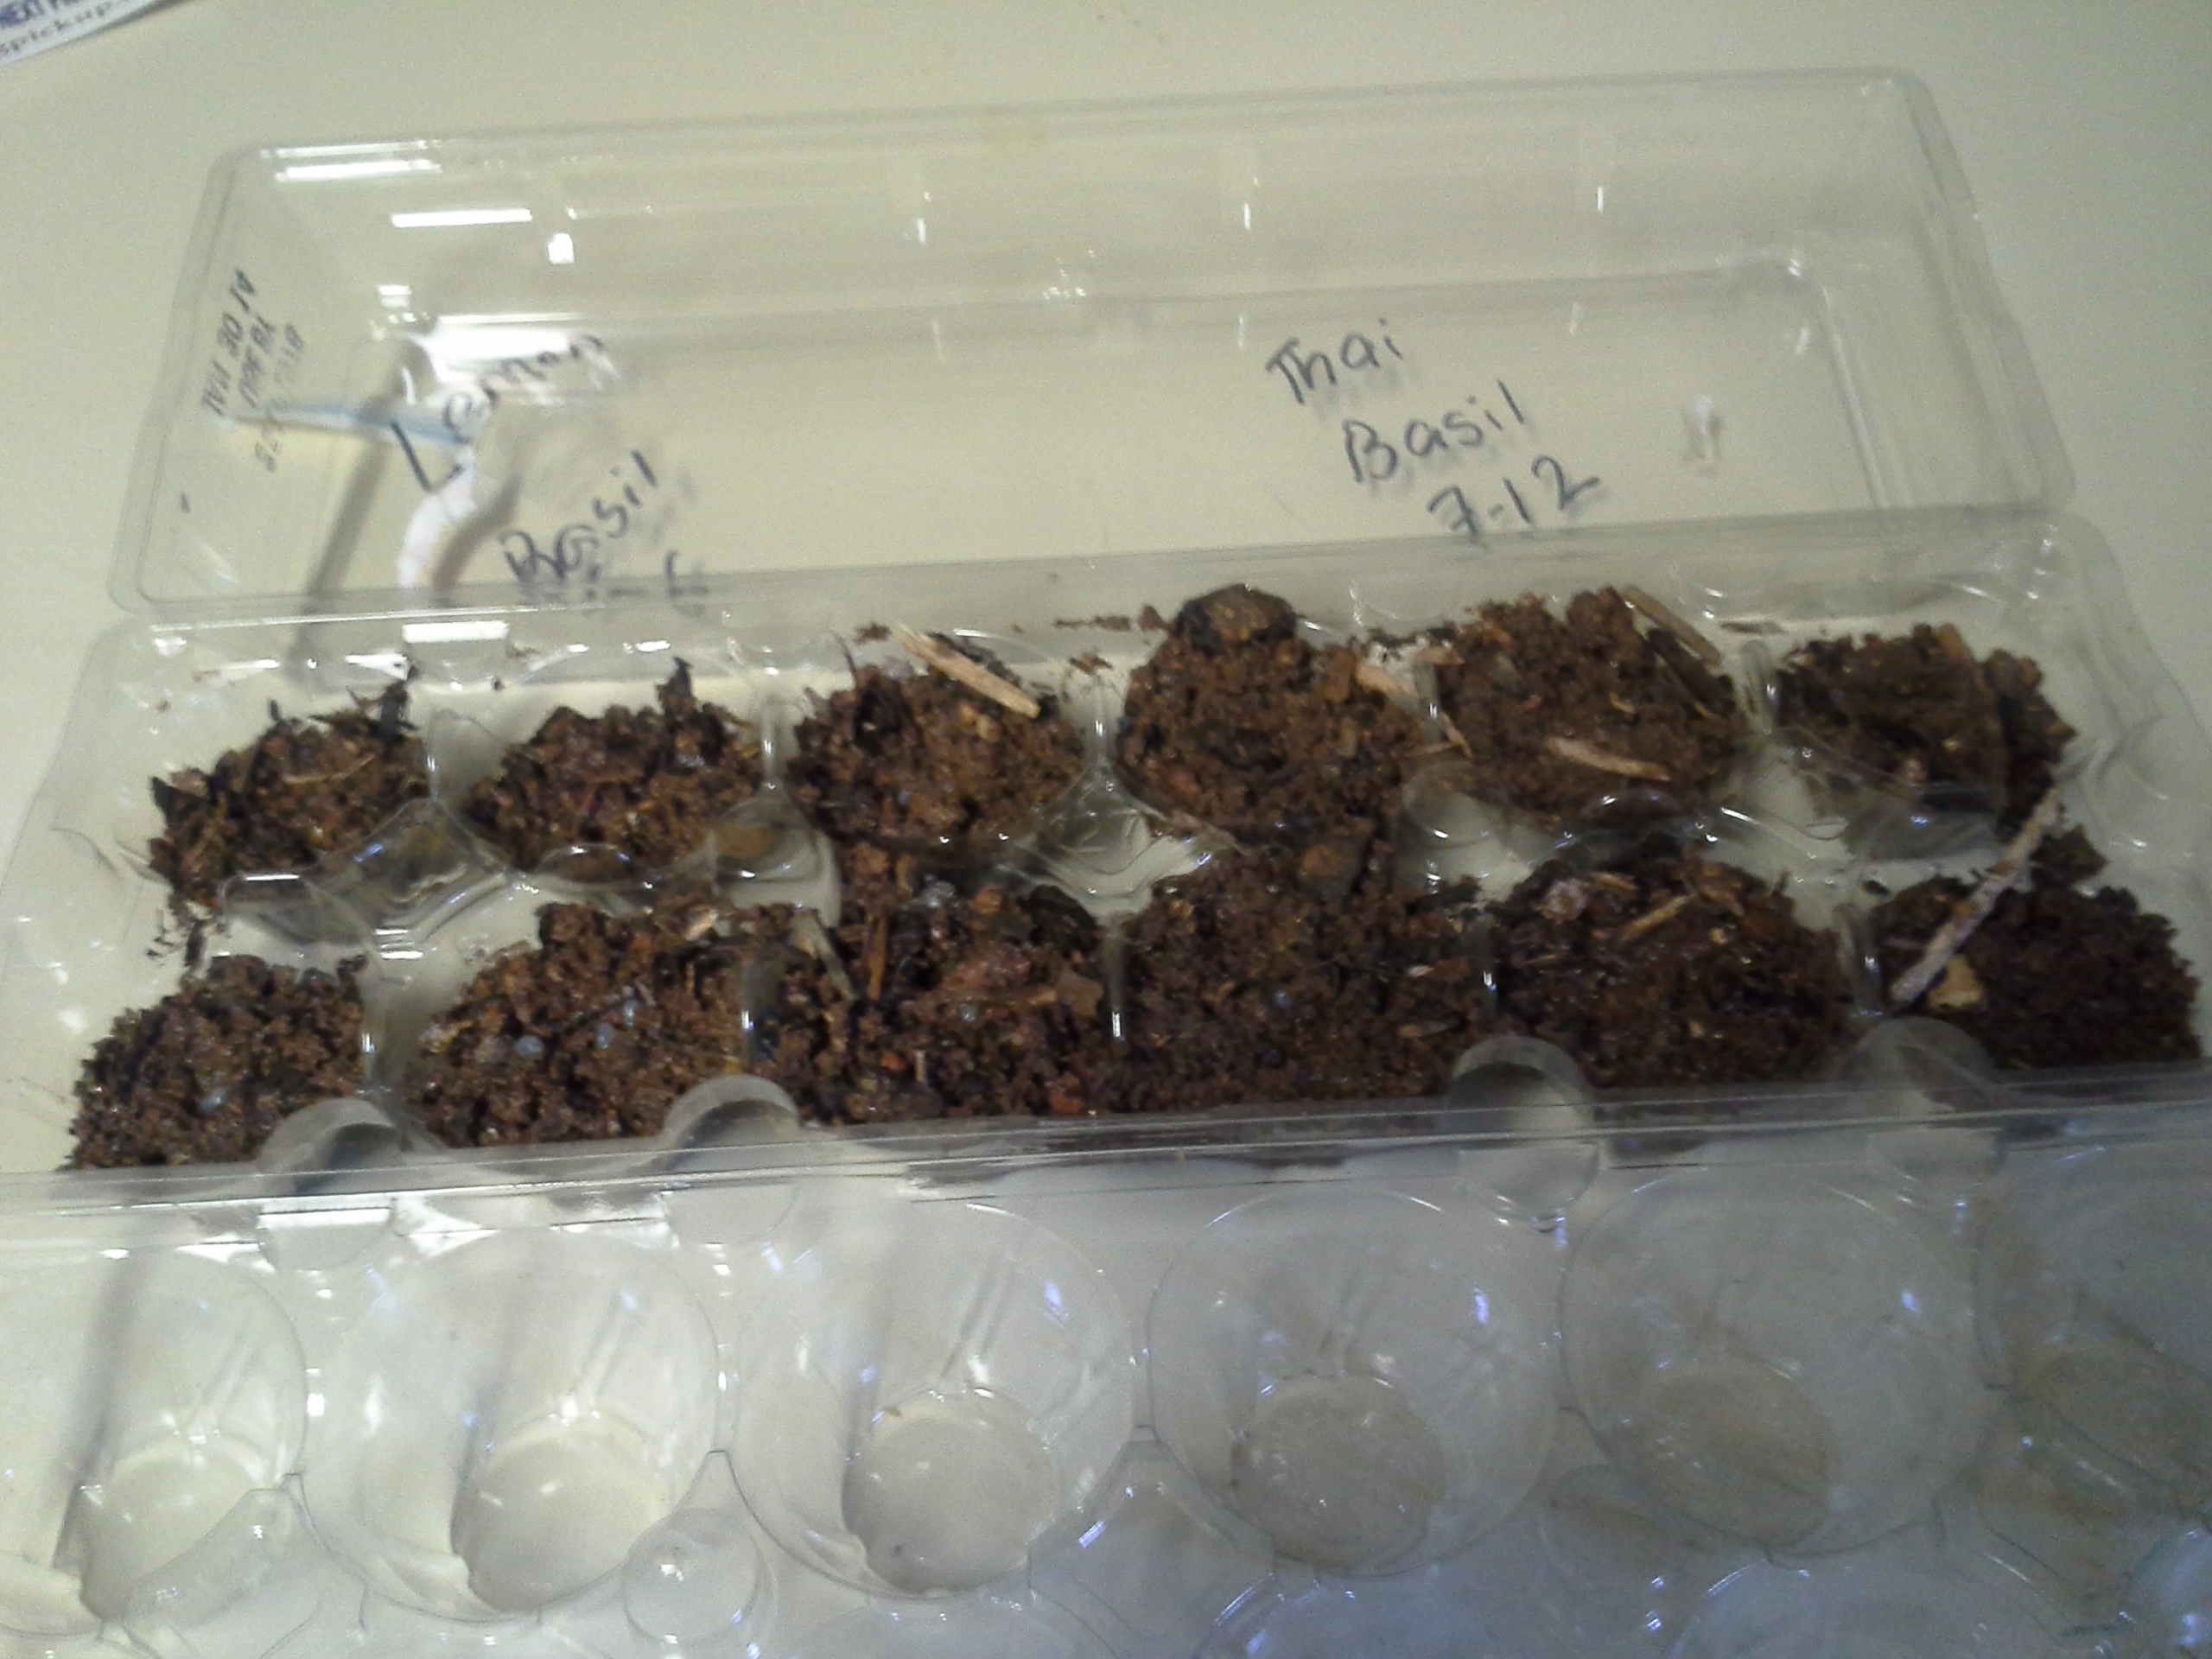
Carton Seed starter with Basil varieties

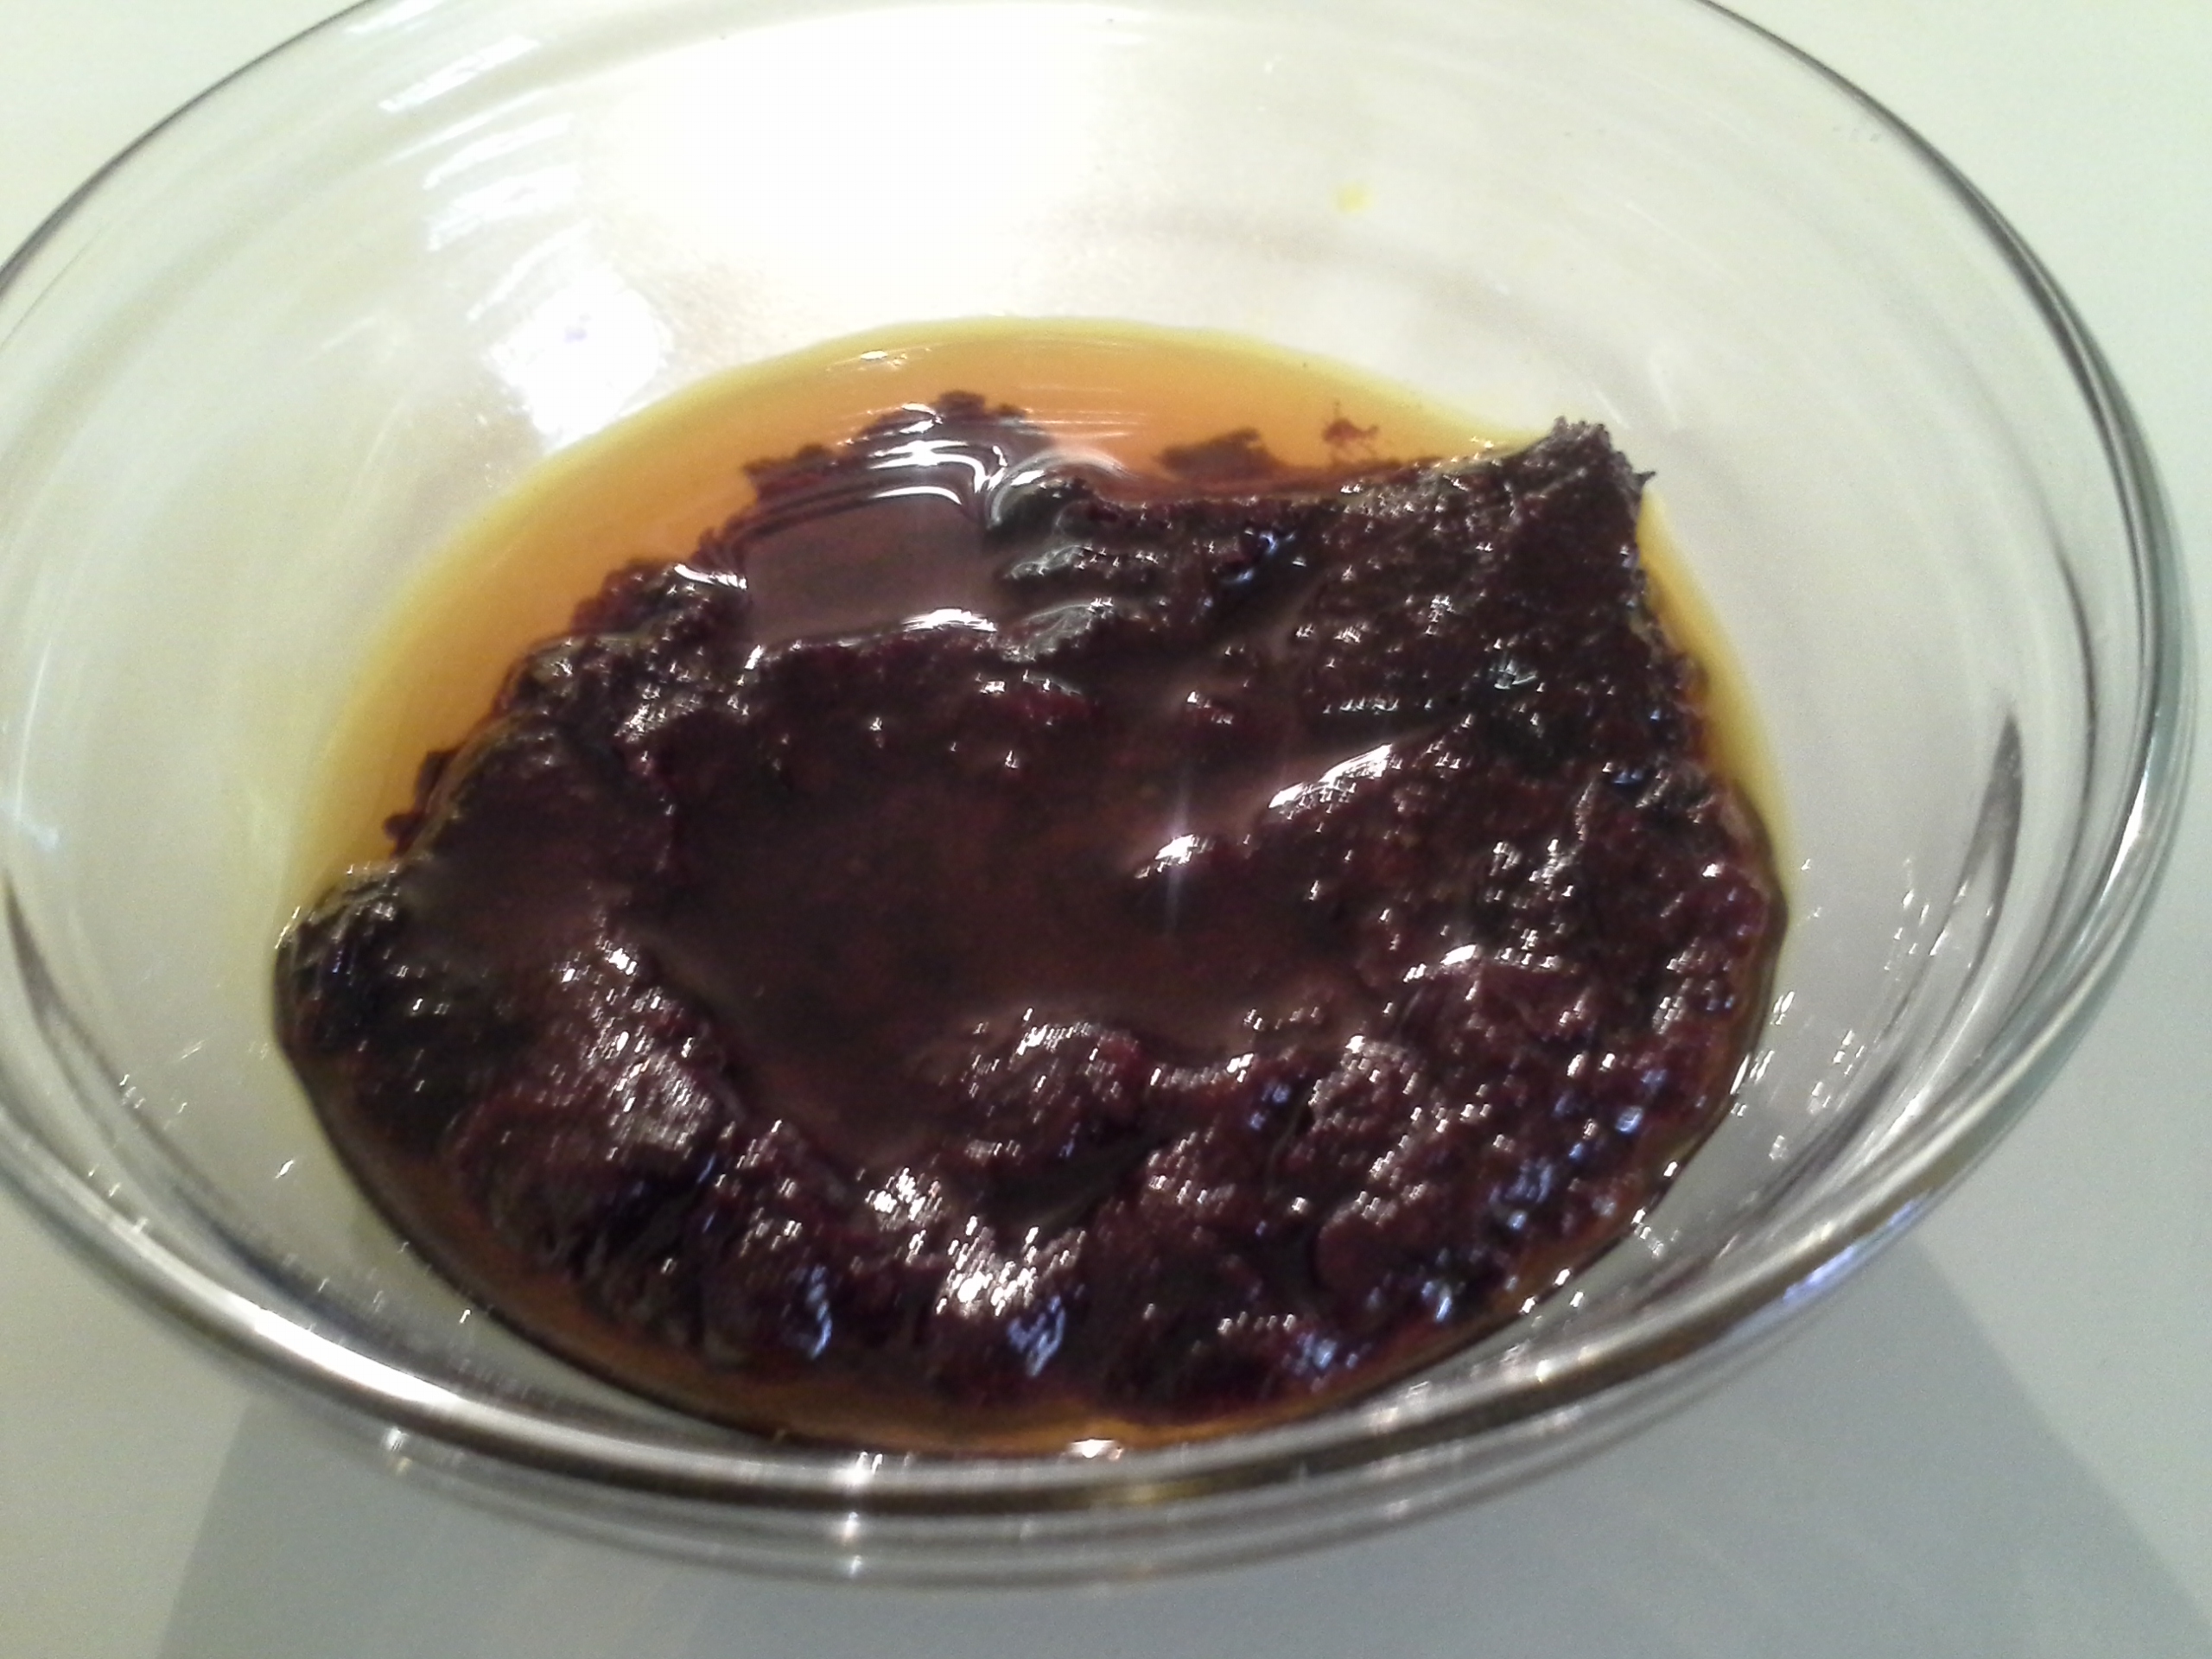
I have a few egg cartons saved to pass on to my local chicken farmer. I decided to try the plastic ones this year as they can be closed to serve as a greenhouse. The recycled paper ones would work as well, but they will need to be kept open, have plastic wrap on them to serve as a greenhouse if you want them closed and need to be watered more often, so I decided against them this year. Much easier than using a plastic bottle as there is no cutting involved. Just scoop in some potting soil, moisten and pop in a few seeds. Cover to keep moist or keep open if too wet! I think these would work for more delicate seeds, so I have 3 varieties of Basil starting in them. Just to try a larger seed, I also have some Armenian Cucumbers starting in them.

Seed Starters

The starters I have so far.

3. Toilet Roll
I was looking around to find some interesting ways to start seeds and found this post on how exactly to use toilet roll tubes to start seeds. YouGrowGirl has a step-by-step method showing you how to use them. These work like jiffy pots in that you grow in them, and plant them, roll and all, directly into the soil. Biodegradable “pots” which also condition your soil as they break down as well as a way to reuse those toilet roll centers!

4. Various plastic containers
Plastic tubs, berry plastic containers with lids, plastic cups etc. can all be used to start your seeds in. Poke a few drainage holes in the bottom if they are not a clear plastic, fill with some potting soil and put in your seeds. Put in some skewers or popsicle sticks and wrap clear plastic wrap over and above to provide a greenhouse and reduce watering.

Of course, all of these require that your seeds are started under adequate light – a window suffices just nicely or a sunroom when it is above freezing but not yet warm enough to put out your seeds; have adequate moisture (Too wet? Fungus. Too dry? Won’t germinate.) and adequate food (if your soil is fresh and has organic matter, you should be okay for the 3-5 weeks you are going to keep your seedlings in the starters). Your seedlings are ready for a transplant when the roots have filled out, but have not completely taken over the container. I like to keep my open seedling containers in the outdoors a few days before I transplant them, just to “harden” them off and prevent transplant shock from the warm, cozy home to the tough outdoors!

Happy Gardening…may your dreams of plentiful harvest come true!

Seed Giveaway Contest #2

Ends Friday, March.21.2014

It is that time of the year again…spring is in the air for some, but visions of veggies and flowers dance in their heads for others. Are you ready to start your garden? Is it time to go out and get some seed packets? Wondering what to get? I have a start-up packet of seeds for you.

Here is how you can enter to win this giveaway:

1) Follow my blog to get one entry
2) Leave a comment in addition to following and you get a second entry.
3) Share on your blog or facebook and that will count as a third entry.

If you already follow the blog, let me know by leaving a comment and it will count as 2 entries (one for following and a second for commenting)!

NB: A comment without a follow won’t count as an entry.

I will announce a winner late the evening of Friday 21st March. Look back here then!

Seeds available are:

  • Radish (Champion)
  • Melting Sugar Snow Peas
  • Garden Beans (Contender Bush)The prize!
  • Evergreen Bunching Onions
  • Organic San Marzano Tomato
  • Organic Beefsteak Tomato
  • Cinnamon Basil
  • Cilantro / Coriander
  • Sunflower (Red Sun)
  • Morning Glory (Giant, Mixed colors)
  • Nasturtium (Dwarf Cherry Rose)

Good Luck!

Open only to continental US addresses.

Zoar Craft Bazaar 2013

Craft Bazaar at Zoar UMC, Snellville, GA

Craft Bazaar at Zoar UMC, Snellville, GA

It is that time of the year again – autumn, fall colors, cooler weather, pumpkins, spice, warm drinks and Craft Bazaars! Time for my first Fall 2013 Bazaar coming up this weekend at Zoar UMC in Snellville, GA. Have many new things for this year – crocheted baby hats, crocheted beanies for teens and adults, crocheted scarves and cowls, crocheted embellishments for all of the above, hair accessories, painted silk scarves and lots of jewelry.  Every single piece has been slowly and lovingly hand crafted and made in a smoke and pet free environment. I hope if you are in the area you will stop by, shop my booth and the many others who are there and get some of your holiday shopping done – family, friends, co-workers, teachers et al. Something to please everyone at this show. The venue will have a silent auction, door prizes, a bake sale, a BBQ lunch and a KidsZone for your kids to give you a chance to shop for them!

Mixed Veg Pickle

Had some at a party earlier this month and wanted to recreate it. Wasn’t quite the same to look at nor did it taste the same. Still needs to be tweaked some, but here is the recipe:

  • Peel and cut into 2″ lengths and about as thin as a pencil or so, one or more of carrots, radish, turnip and cauliflower to total 500 gms. Keep cauliflower separate from other vegs.
  • Toss in upto 50 gms of green chillies, a few cloves of garlic (cut if too large), lotus root etc.or leave this section of ingredients out if you don’t want them
  • 25 gms jaggery chopped fine
  • 50 gms coarsely ground mustard seed (brown is better than black, but either is fine)
  • 10-15 gms red chilli powder
  • 1 tsp turmeric powder
  • salt to taste (about 4 heaping teaspoons)
  • 30 mls oil (I used canola, but you can use mustard as well)
  • a dash each of asafoetida and fenugreek powders
  • about 30-40 mls of fresh lemon juice or white vinegar

Bring to boil about 500 mls of water with a tsp of turmeric and 2 tsps of salt.

Add the sticks of carrot, turnip and/or radish. Cook on a simmer for 2 minutes. Drain the vegs and lay on towels (or in the sun) to dry while getting the rest ready. They need to be crisp but tender.

Put cauliflower, chillies, garlic and lotus stem (whichever of these you use) into the same boiling water for 2 minutes, drain and lay out to dry.

Heat oil, adding more if you prefer. Add the coarsely ground mustard when hot, stir to mix and toss in all the vegetables. Cook a minute or so while stirring often. Add the jaggery, salt, chilli powder, asafoetida and fenugreek. Stir for a few minutes until most of the liquid has evaporated. Let cool in the cooking utensil. Pour into clean jars, let cool completely, and refrigerate.

I assume it will last for 2-4 weeks. If it doesn’t, then next time, I will double the oil and add a bit more salt to it.

Somehow, the one purchased from the restaurant was red in gravy. Mine has more of a brownish tint to it, which makes me wonder if they add anything to enhance the color!

Previous Older Entries

Some Site Viewers: